After owning 3 campervans; a T4 Volkswagen selfbuild, a Ford Transit Nugget and a Citroën Jumper (both factory made campervans), we decided to go for an empty second hand box truck. Read…. why we chose a box truck. In this post we would like to share with you how our designing process went and where we are right now in building the truck.
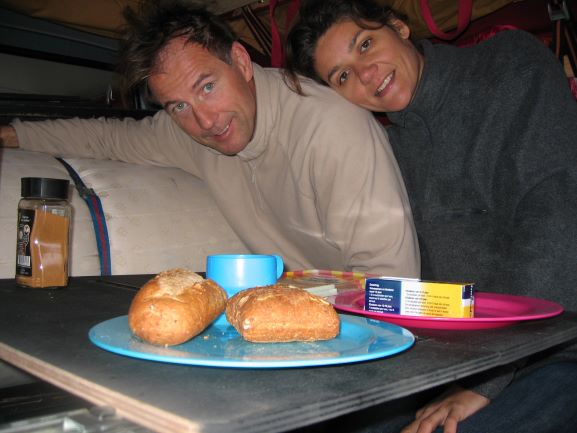
Cosy living 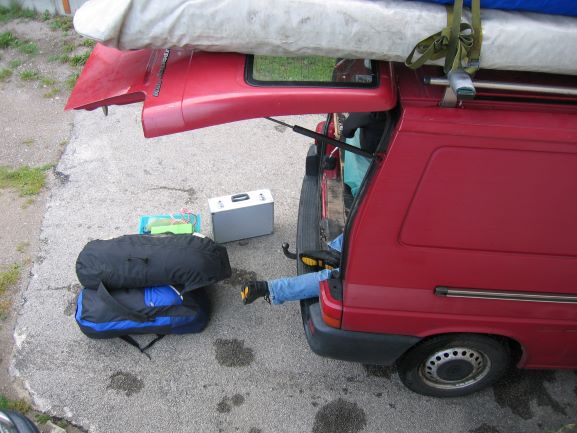
Volkswagen T4 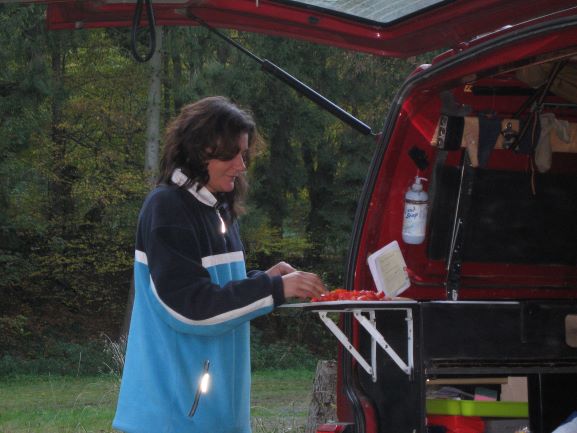
Outdoor cooking
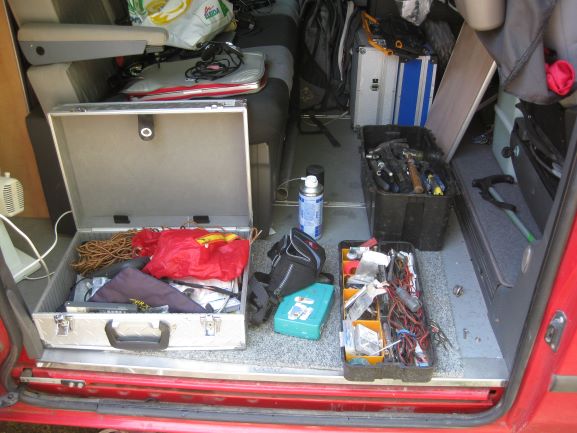
Stuff all over 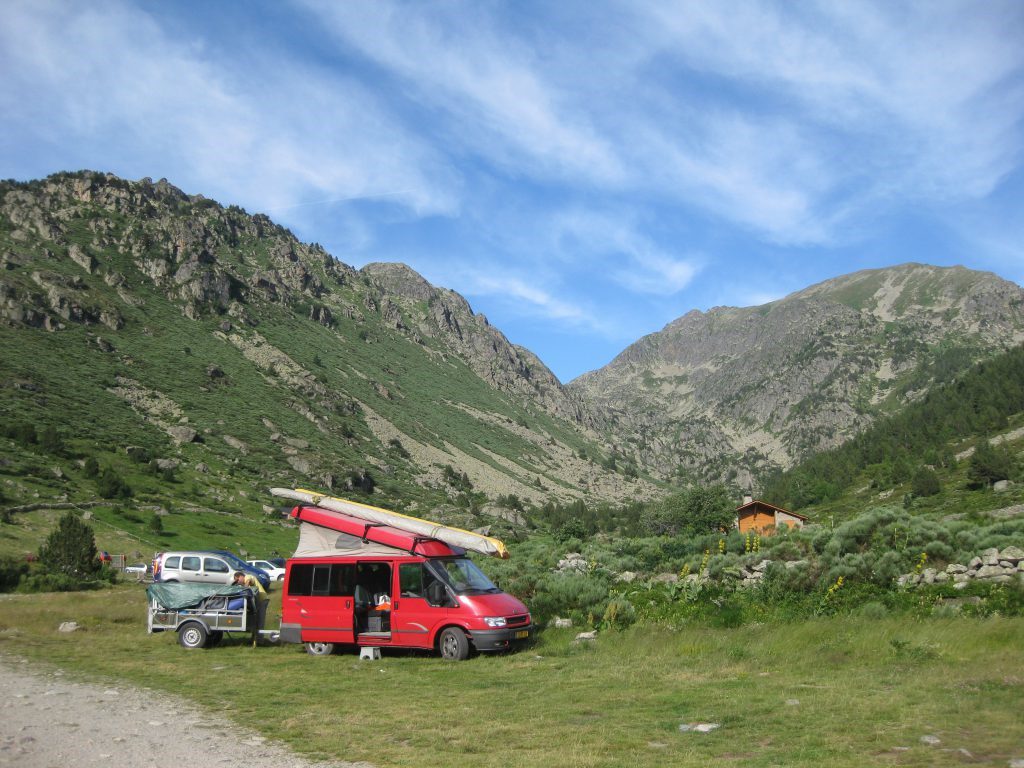
Ford Transit Nugget 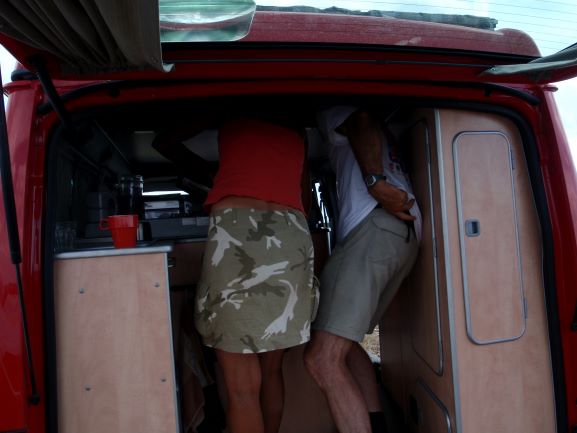
In the kitchen
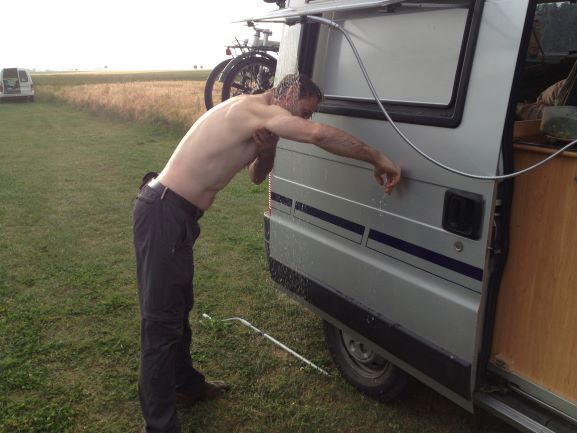
Shower time 
Citroen Jumper 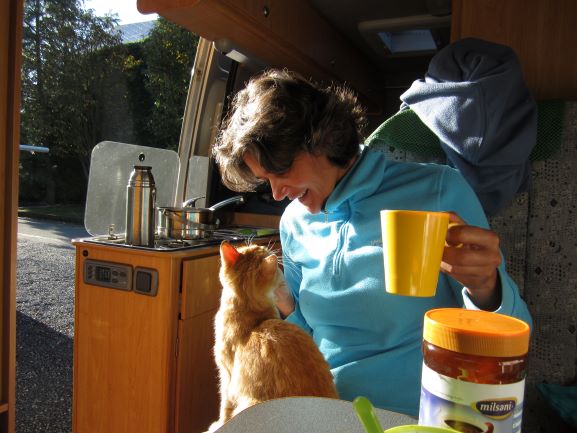
New friends
Designing takes time!
We were always changing things in our campervans as things can always be smarter, better, more simple, etc. So looking back, the designing of our new home started years ago before we even knew that we would be building our own.
When we came up with the plan to become flying nomads (November 2016), it was clear that we needed something bigger and stronger for our new home. First of all we wanted more lebensraum or living space as we were fed up with having to squeeze past eachother and having to move all our stuff around all the time. As soon as we knew that we would get ourselves a box truck, we started designing.
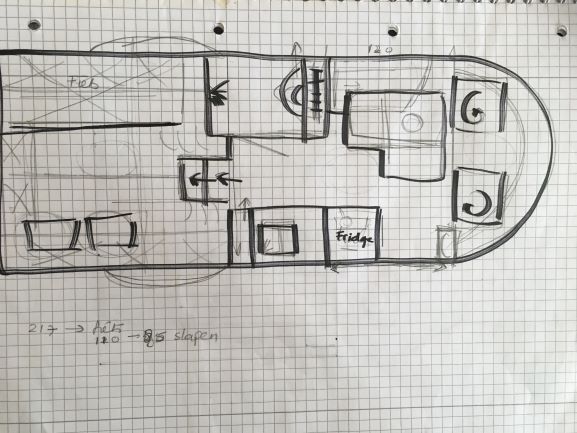
Just some 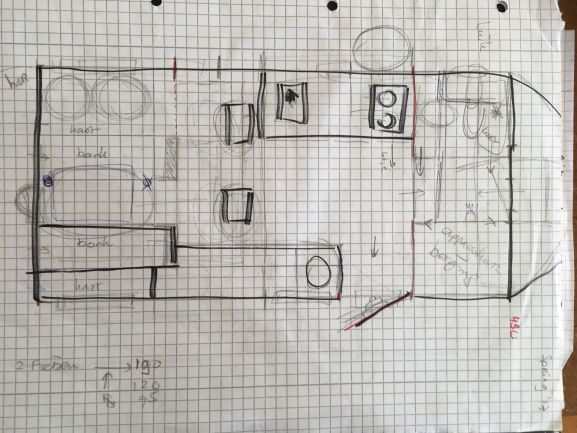
of 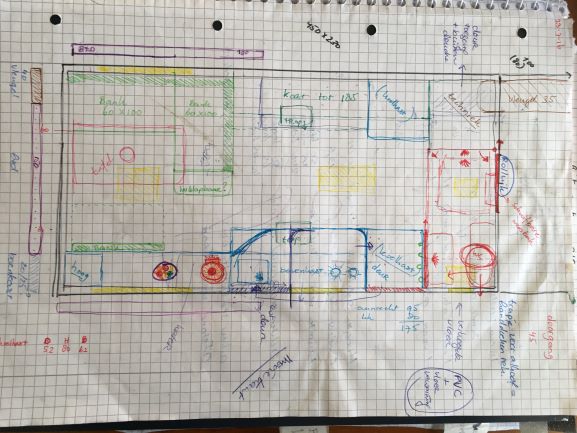
the designs
As we had only had 3 weeks before our first trip (summer 2017) there was no time for planning and building. So we could do nothing more than shove the stuff right in! We had running water (15 liter tank) in an old sink from the T4 built into an old desk, a chemical toilet and a bed on wooden blocks so all the stuff could go under the bed. Two foldable chairs, one table, 2 bikes, all the flying gear and off we went. Obviously it turned out that having no cupboards at all and loads of boxes under the bed and stacked under the sink, we were again moving stuff around all the time. But it gave us an immediate idea of what we did NOT want. So that was good. We brought a sketching book with us and started drawing up some ideas.
Research, research and research as much as you can!

Next to our own ideas we also found lot’s of inspiration on Pinterest and Instagram and in some of the books we had bought on self building. We talked to many other overlander and campervan owners and joined dedicated Facebook groups. We found it very helpful to understand what other people have done and why, before we started building. But it takes patience and a lot of time, but hopefully we won’t have too many costly lessons…
Know what you want!
After the first trip the designing continued. First we determined what would be on our wishlist for sure:
- Big bed (at least 200 x 150 cm) hanging against the ceiling during the day
- A sitting area at the back for at least 4 people
- Folding doors that can be fully opened onto the terrace
- Kitchen with a big worktop
- Enough storage for our clothes, flying gear, supplies and tools
- Water tanks that can last us 3 weeks
- A fully equipped bathroom with shower, small sink and toilet (also for Mickey)
- An alcove over the cab for a spare bed and for storing flying gear
- An internal storage for the hangglider (length 5,5 m!!) for protection against wind and rain (and theft)
Begin with one thing!
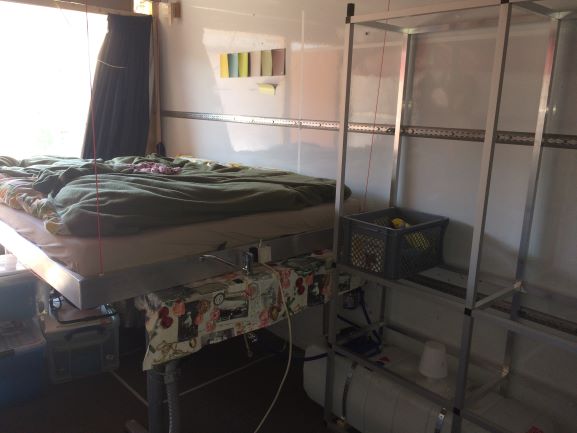
For the next Edition 1.1 we started off with the bed as we wanted it out of the way before our next trip (May 2018)! The idea of hanging it from the ceiling came from what we saw on a camper exhibition. All we needed to do was find a way how to make it ourselves as most manufacturers only sell their products to camper factories ☹.
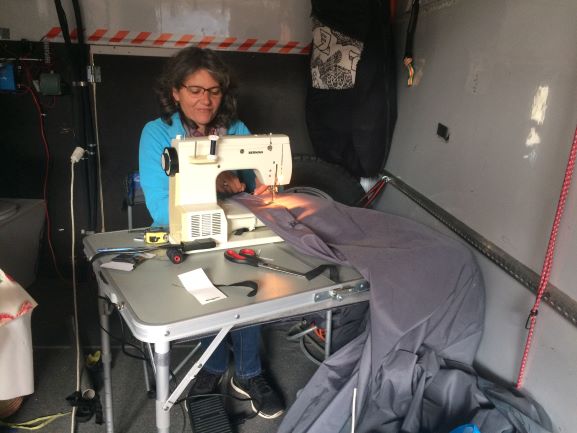
Youtube was a great source of examples how to… but in the end Koos put all the ideas together and made a unique design (we will post a video on this). The good thing about beginning with one item is that you start to get a feel of the building material (in our case aluminum and for the cupboards aluminum and plastic connecting pieces). If we didn’t like it for what ever reason, at least we didn’t invest too much.
Visualize your design
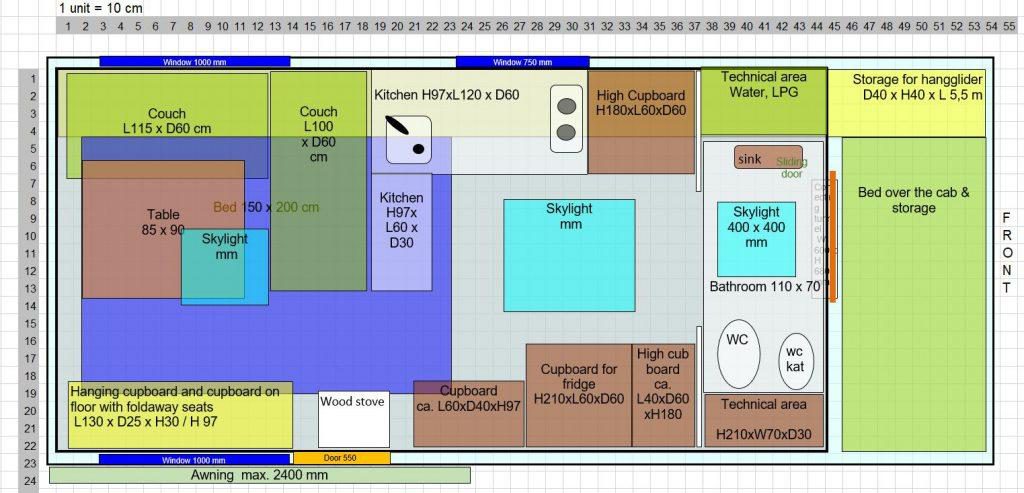
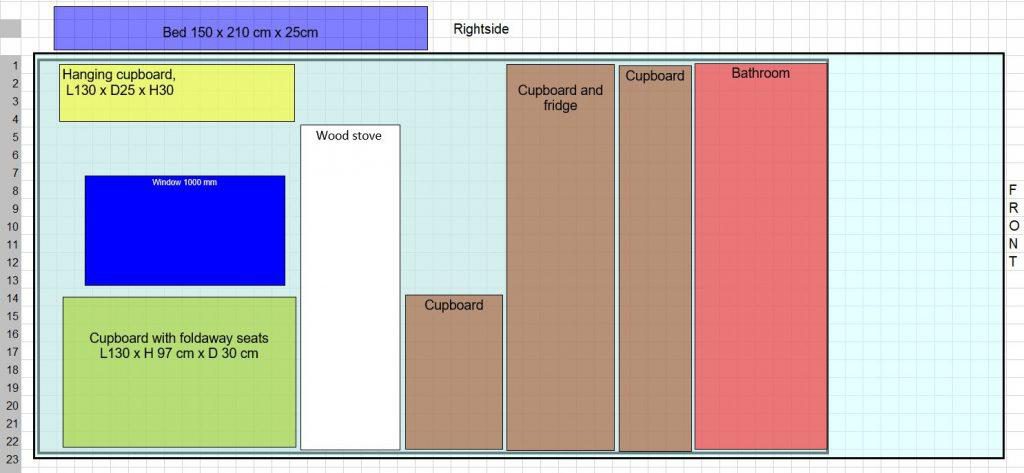
We also started to visualize our ideas by making a scale model of the box 1:10. I made endless paper models of the kitchen, cupboards, couches etcetera and we moved it around for a couple of months inside the paper box truck. From left to right and back again until it felt right and all fitted in. We also had to think about where to plan heavy stuff (such as water tanks, fridge) and the logic of water pipes, plumbing and electricity cables.
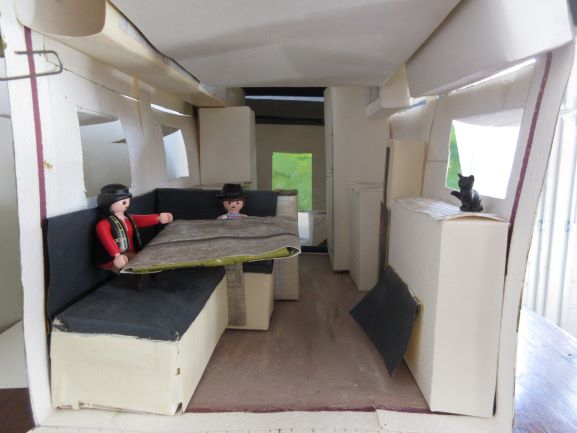
Only then we started making the actual furniture such as the kitchen and seating area (winter 2018).
Time to experiment
As the location of the bed was determined, we could focus on the rest. Finding out what a big enough worktop was or how much storage we would need, was a matter of experimenting. We simply put all the clothes we want to bring in the crates we planned to use to get a pretty good idea.
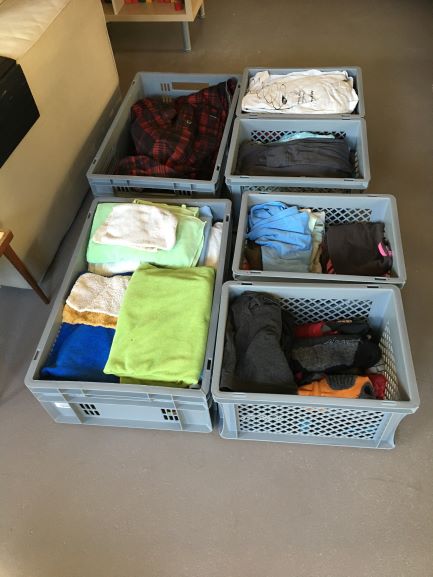
What to bring 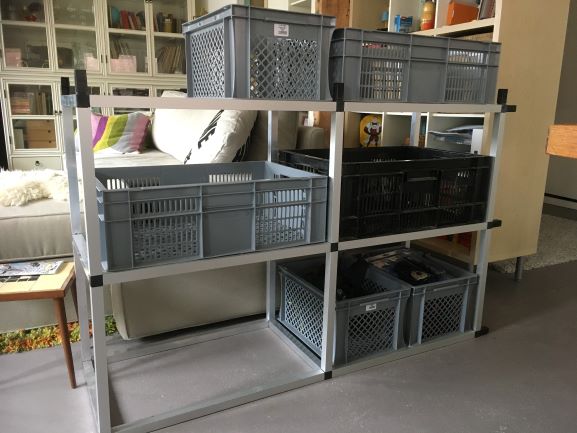
Where to put it
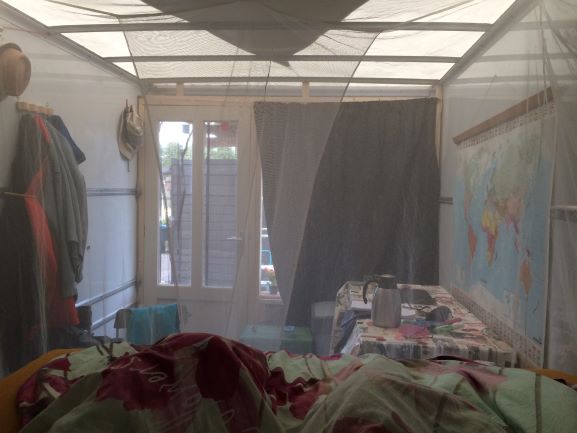
For our summer 2018 trips we kept the original worktop from Edition 1.0 and turned one desk into a couch. We experimented with a compost toilet and a wardrobe made of aluminum and Euro crates. We made a hole in the front of the box so that we could hang the hangglider from ceiling. On the back of the loading platform we made a rack for the bikes; having them outside made a huge difference in living space.
Awning 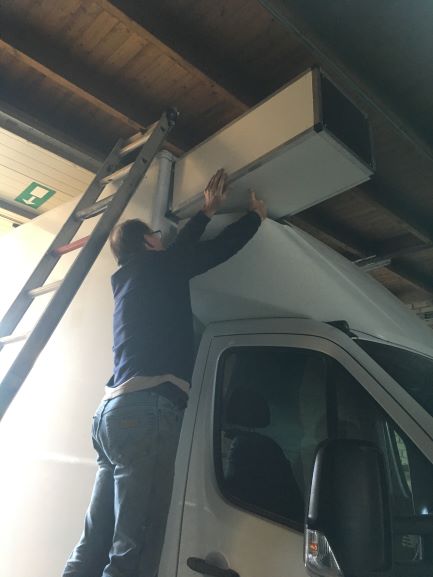
Hangglider escape 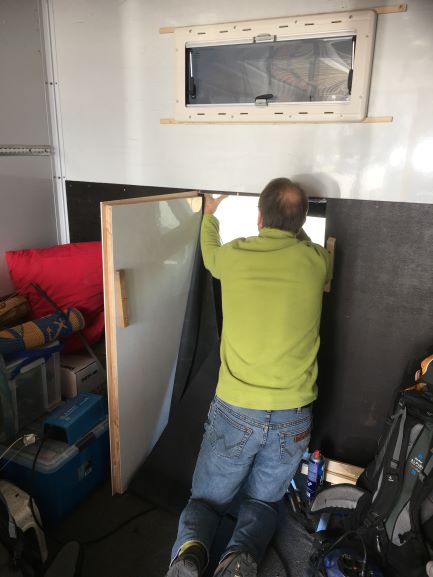
Door to the cab
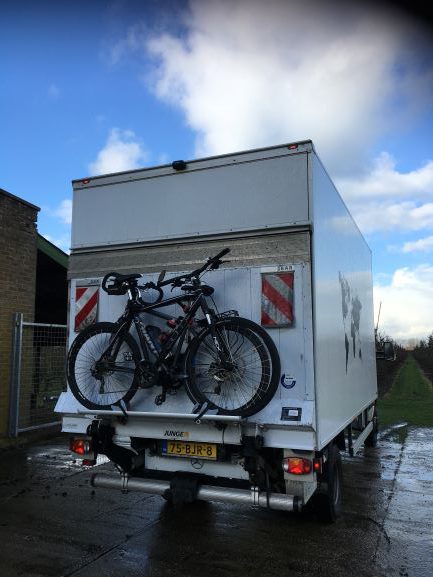
Bike rack 
Compost toilet
On the floor and walls we played around with masking tape to get an idea of the size of the kitchen and cupboards. Living space was important to us and we did not want to compromise on that! And then, after seeing so many nice videos, we also added a wood stove to our wishlist. So… the actual moving around of furniture in the scale model only ended last month (January 2019)!
Weight is everything & know your limitations
We deliberately chose a 5 tons truck as we wanted to have enough weight-margin when building our new home. 3,5 tons obviously is easier (and cheaper) because you don’t need an extra drivers license, but for us it just wouldn’t be enough with all our sports gear. So looking for building materials and equipment we always had to check the weight; too heavy? Not for us!
We also wanted the box to be removable from the truck for transportation in a sea container. That meant that the maximum size would be limited too. When you drive through small villages, take off-road mountain roads and encounter low bridges, it’s better to limit the height and width as much as possible. Knowing your limitations also means that you have to know what you can and cannot do yourself. We decided that making the new box wasn’t for us and got lots of advice with the water and electrical systems. But whenever possible we try the DIY approach. Now it was time to make some serious drawings and get the sizes right. We were about to decide on the definite size of the new box, so it came down to every centimeter! We used Excell to make a plan (from “Motorhome, self-build and optimisation” by Ulrich Dolde ) for the builder.

Get it right the first time and accept that you won’t!
As the box is being built right now, we won’t be making the last bits of furniture till everything else is in place. We do like to get it right the first time, although mistakes are easily made. We usually measure, measure and re-measure again and again and even so we get it wrong sometimes (check out the building of the cupboard of the fridge…). So, what we learned:
Designing and building tips:
- Research, research, research
- Know what you really want and won’t comprimise on
- Experiment and start small
- Take your time because you can’t hurry a good design
- Know your limitations and seek professional advice where you need it
- Accept that you will get some of it wrong
Have fun designing and planning!
[…] explained before here, we decided that we needed to build a new box because of the weight and insulation challenges and […]