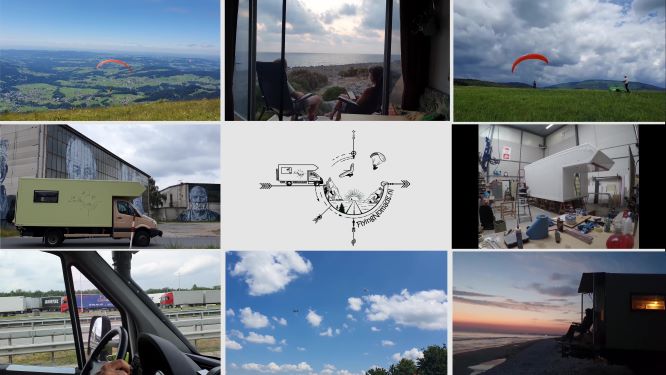
For those who prefer the vlog on the 8 day rebuild, it’s at the bottom…;-)
Not everything works out the way you plan, expect or hope. Things brake unexpectedly or designs fail in practice. Well, that’s life!
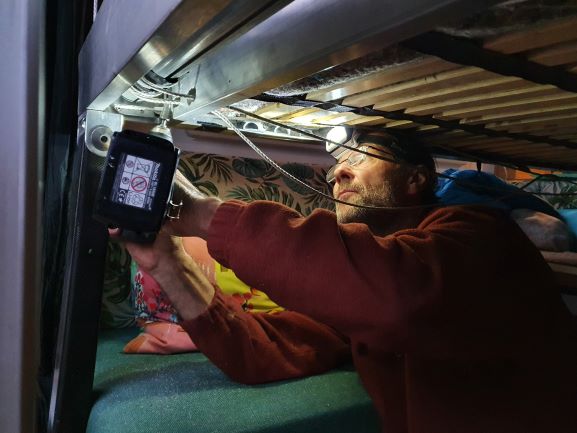
In the first design we decided to use vinyl as floorcover over the infrared heating – nice warm feet! But because we still had to install a sensor, one side of the floor was left open (not sealed). And – here comes bad luck – we had a floading when filling one of the water tanks. Our water tanks are inside the box because we want to keep them save from frost and because our box is demountable whenever we need it to be stand-alone or move it by shipping container. First time a little water, the next time a lot :-(. Leaving wet white marks under the watertanks and in the future possible – the fear of every camper owner – mold …
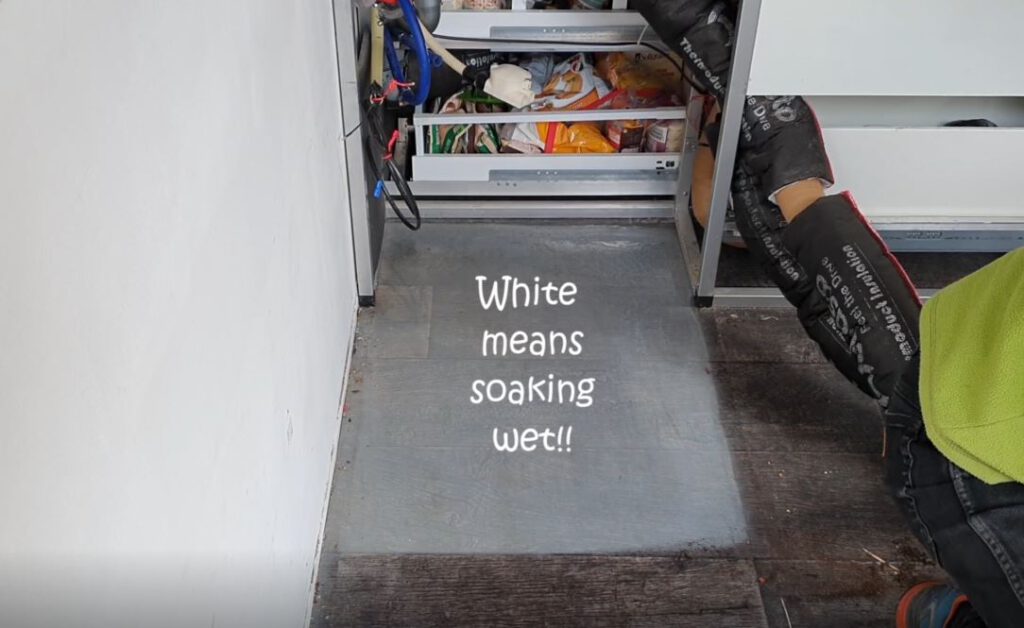
On top of that the vinyl appeared to be quite vunerable (tip!) and as we were still working on the inside and did our best to cover the floor, we could not prevent falling stuff from damaging it. So we knew before leaving on our Europe roadtrip 2020, that one day we had to deal with it. This day had come.
As I (Daphne) had to have surgery in november, we decided to deal with it before I would not be able to help Koos anymore with this big project. We ordered all the materials and moved in with my mother for 2 weeks and worked full time on the rebuild.
Thanks mom, for putting up with us…
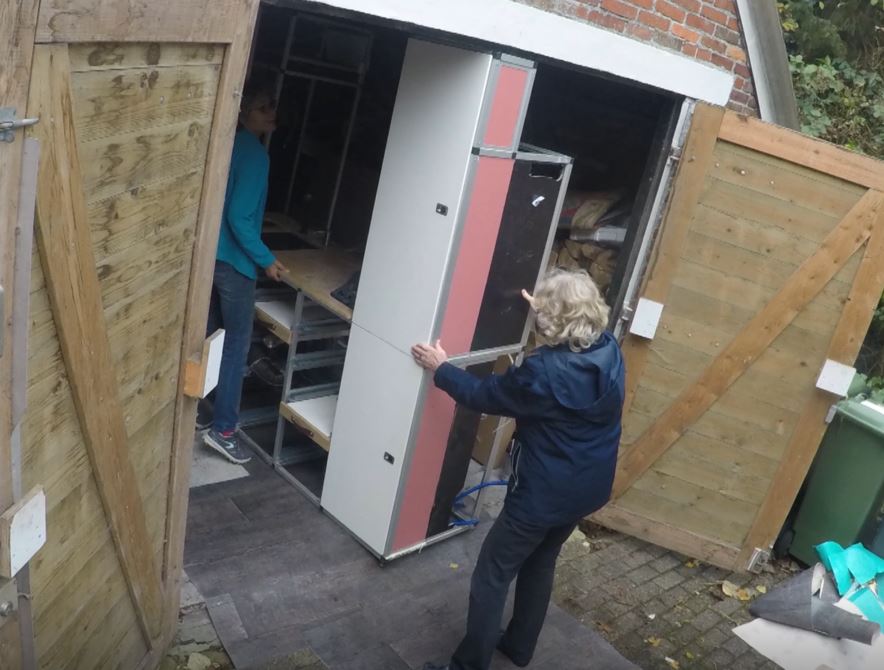
As you can see in the video down below, everything had to come out. The furniture was made to fit, and obviously never intented to be removed from the box again. So it was a tough job disconnecting everything from the walls (mostly kit and some odd screws) and from eachother (rivets). Especcially the kitchen put up a fight!
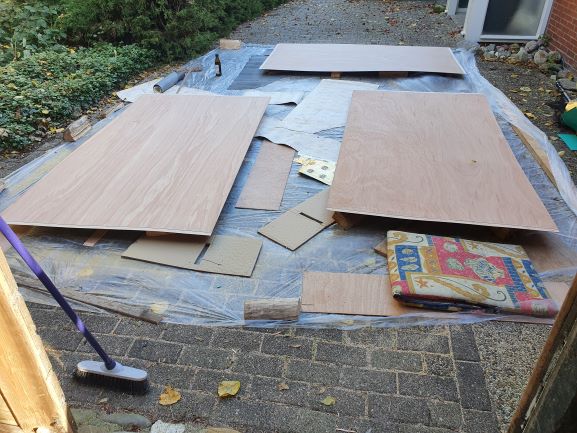
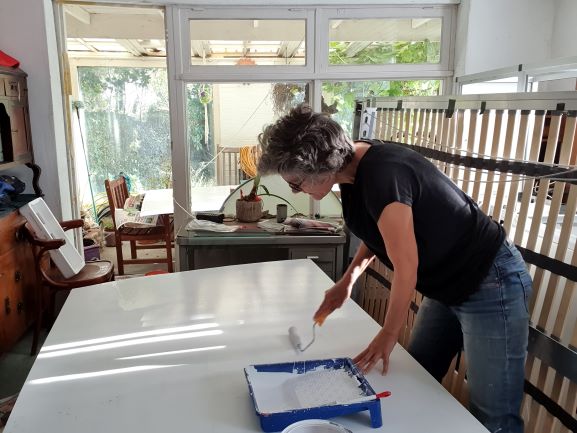
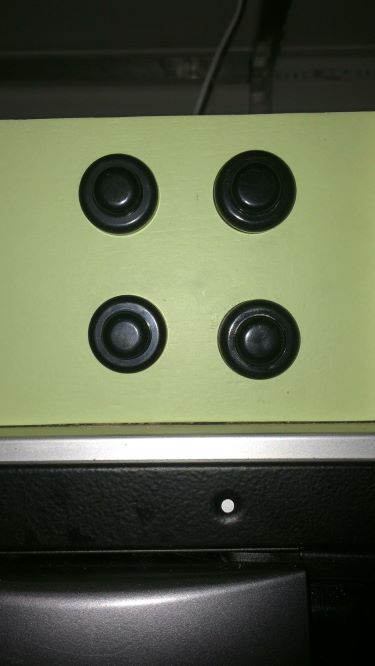
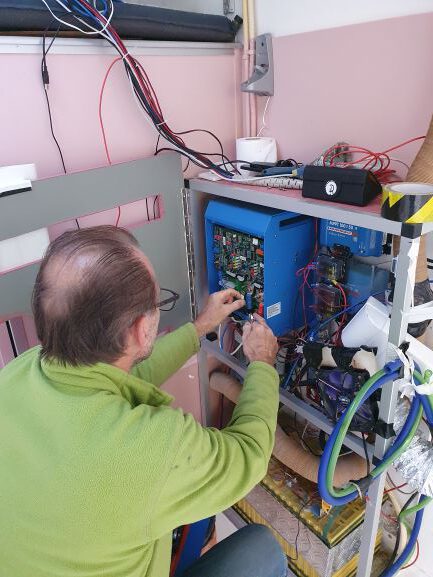
In the meantime we painted the new floorboards to make sure that they would be waterproof. As the interior building was a process of over more than one year and things were added to the initial design, Koos could make a lot of improvements. This included adjustments to the water system, electrical connections and routing and adaptations to the heating system. Also he replaced/added some additional electromagnets to lock the kitchen drawers.
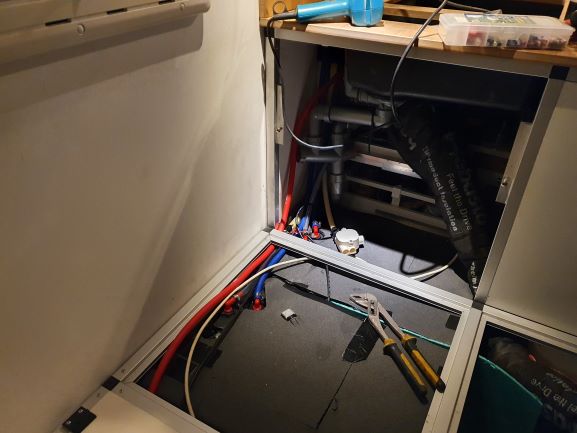
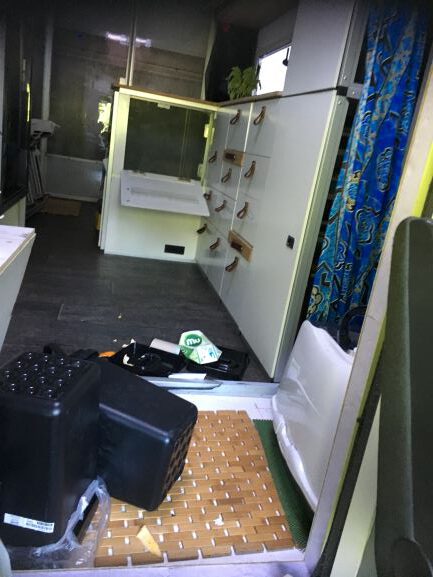
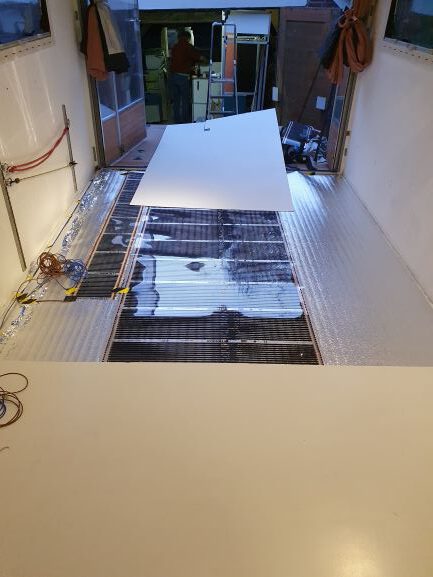
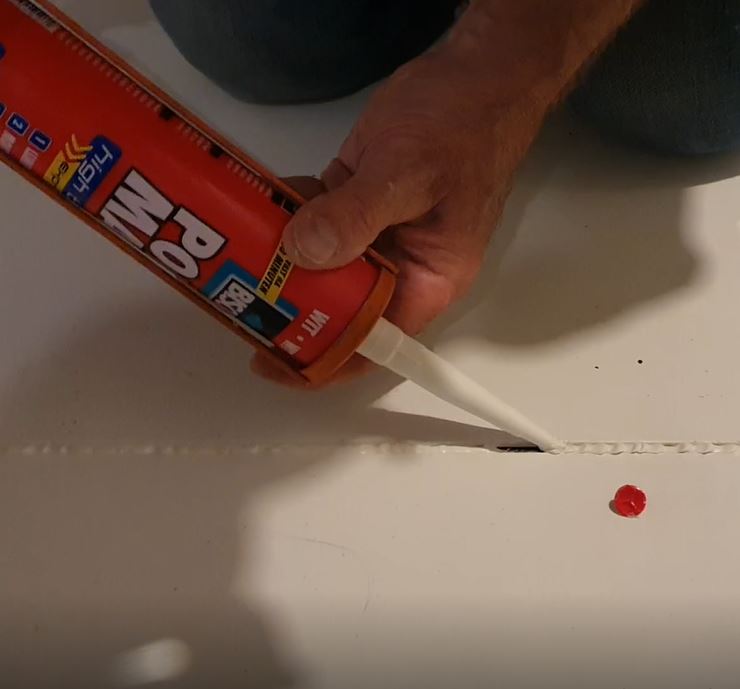
As soon as the box was empty we could lay the insulation, install the infrared heating and cover it up with the floorboards. And finally seal everyting off with lots and lots of kit. No more water under this floor!!!
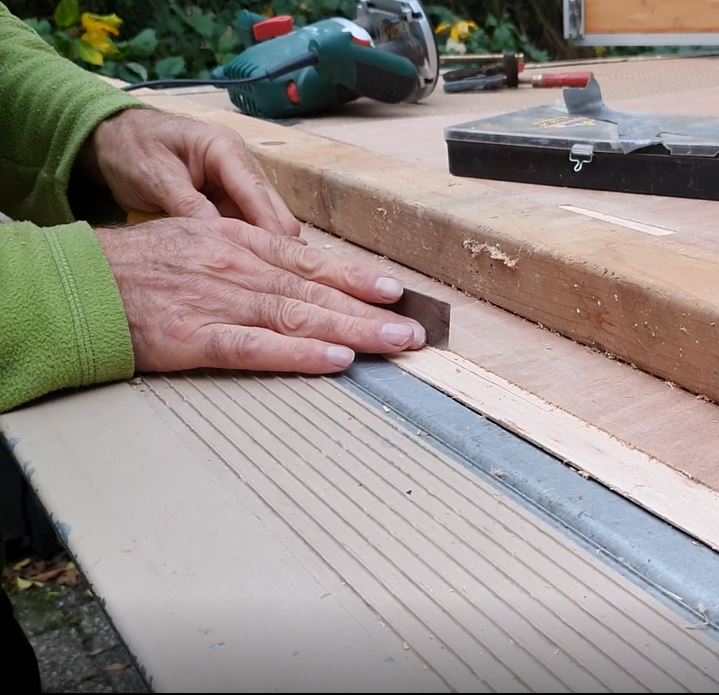
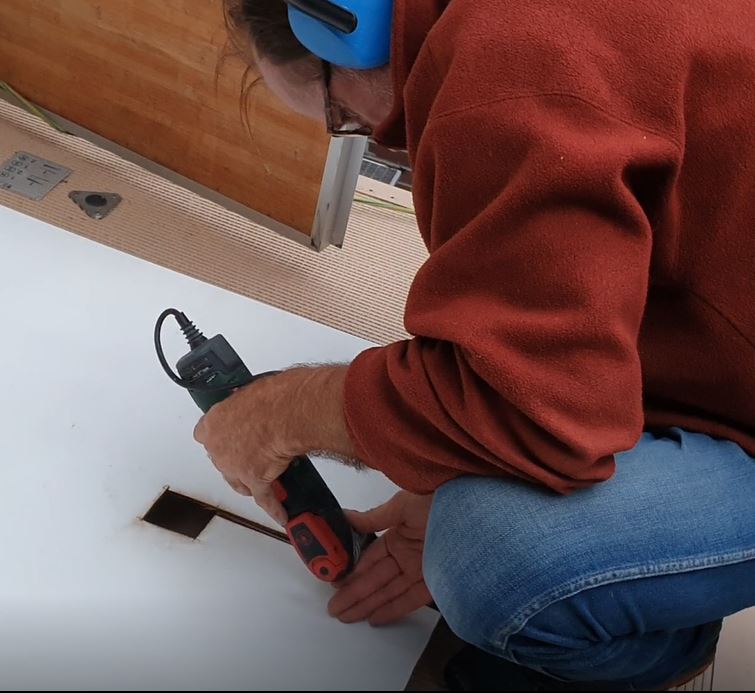
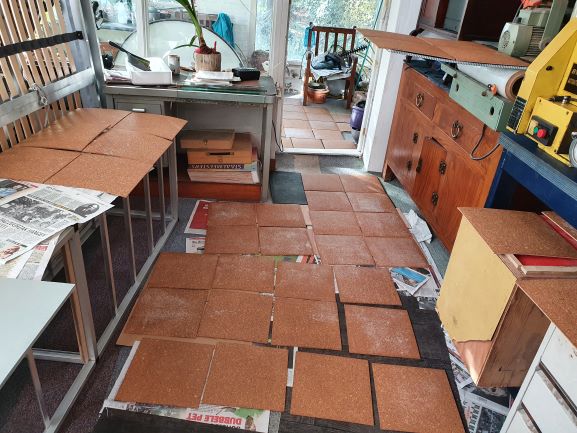
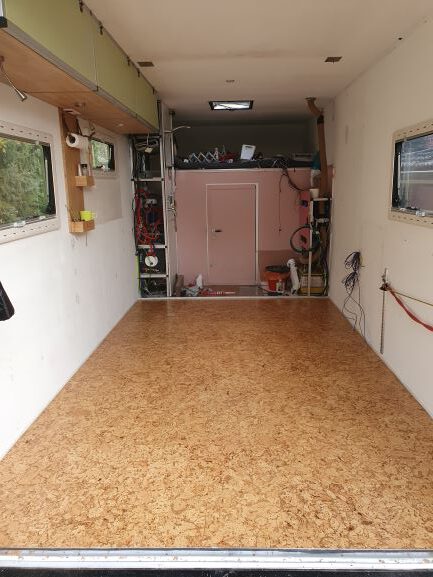
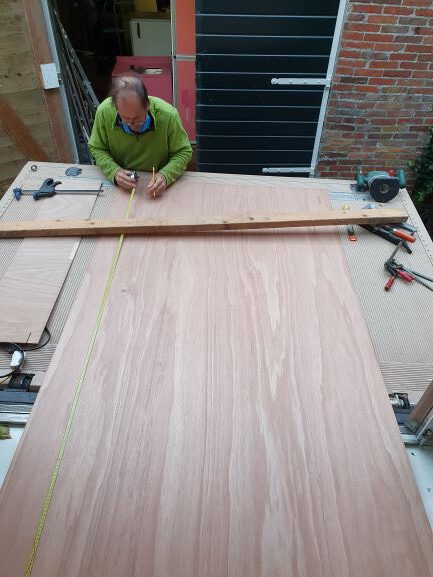
The cork tiles, that were pre-lacquered, needed to be glued, as well as the floorboards. After 3 hours of drying we could apply them. A job that needed a perfectionist eye, but fun to do as it went quite fast. A final layer of laquer was applied to fill up the little gaps between the tiles, and needed 3 days of drying. So in the meantime more improvements were done including a bathroom makeover.

And then the rebuilding could begin. It’s all in the vlog…
Originele indeling. Ik bedoel geen zijdeuren. Om in het woongedeelte te komen kan dat via de bestuurderscabine of via de achterklep. Het scheelt overbodige loopruimte. En die klep is meteen ook een veranda. Goed bedacht.
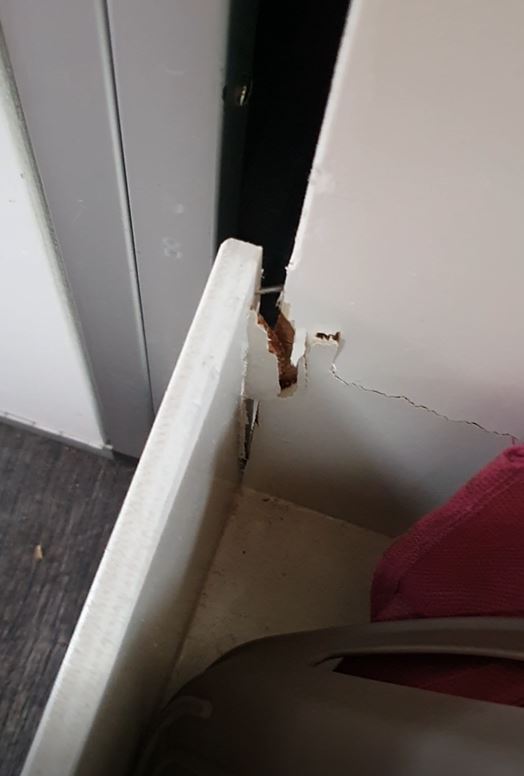
Omdat er een lek was en een afgebroken plank hebben jullie de boel opnieuw ingericht. Weten jullie waarom die plank gescheurd is?
Ha Bert, het was de achterkant van een lade tevens lade stopper, die zo hard open gegaan was dat de achterkant het begaf.